Pin-badge artwork guidelines

So you’ve seen them around at conventions. Those kick ass pins-badges adorning lanyards, bags, bright and shining. And now you want to make your own pin-badge! To promote your game, your company, or just because you have an awesome design in mind. But how?
Artwork for pin-badges
First things first, the artwork. When designing a pin-badge, keep in mind that there is a limit to how detailed it can be. The fewer lines and “parts” you use, the more effective the design tends to get. Although there is no fixed size for a pin-badge, most of them are between 2-5 centimeters in diameter, meaning they are pretty small.
Therefore, bright and bold colors tend to work best. Every part of the pin design can only have 1 color. So shading or gradual colors should be avoided when designing the pin. Because each part of the pin is separated by a thin silver line, having offsetting colors next to each other works very well.

The file itself can be a pdf or a single layer photoshop file. When making the artwork, you don’t have to “draw” the separation lines, we will do that for you at the factory when converting the artwork into the actual pin design.
Hard vs. soft enamel material
Although pins can be made from a wide variety of materials, there are two traditional formats that you choose from when making a pin. A hard enamel pin type or a soft enamel pin. What’s the difference between these two?

Hard enamel pins gets their name from the hard enamel finish that produces a smooth surface. It has thin metal lines between the color parts and a shiny look. The hard enamel pin is made from die-struck iron metal that is heated to a high temperature and then polished. By doing so, it gets its smooth surface that give it a high quality and expensive feeling. Price-wise, it is slightly more expensive than a soft enamel pin. This is due to the extra labor involved in finishing the pin.

Soft Enamel Pins have a textured surface and allow for a higher level of detail. Soft enamel pins are made from die-struck iron metal that is then electroplated, and optionally coated with epoxy. They tend to come out a bit thinner than hard enamel pins, but are slightly lower in price.

Each pin will have a needle-fastener attached to the back. This allows the pin to be pinned to clothing, lanyards and other fabrics. The pin-back mechanism attaches to the body of the pin with one or two points of attachment.
Latest posts

January 23, 2026
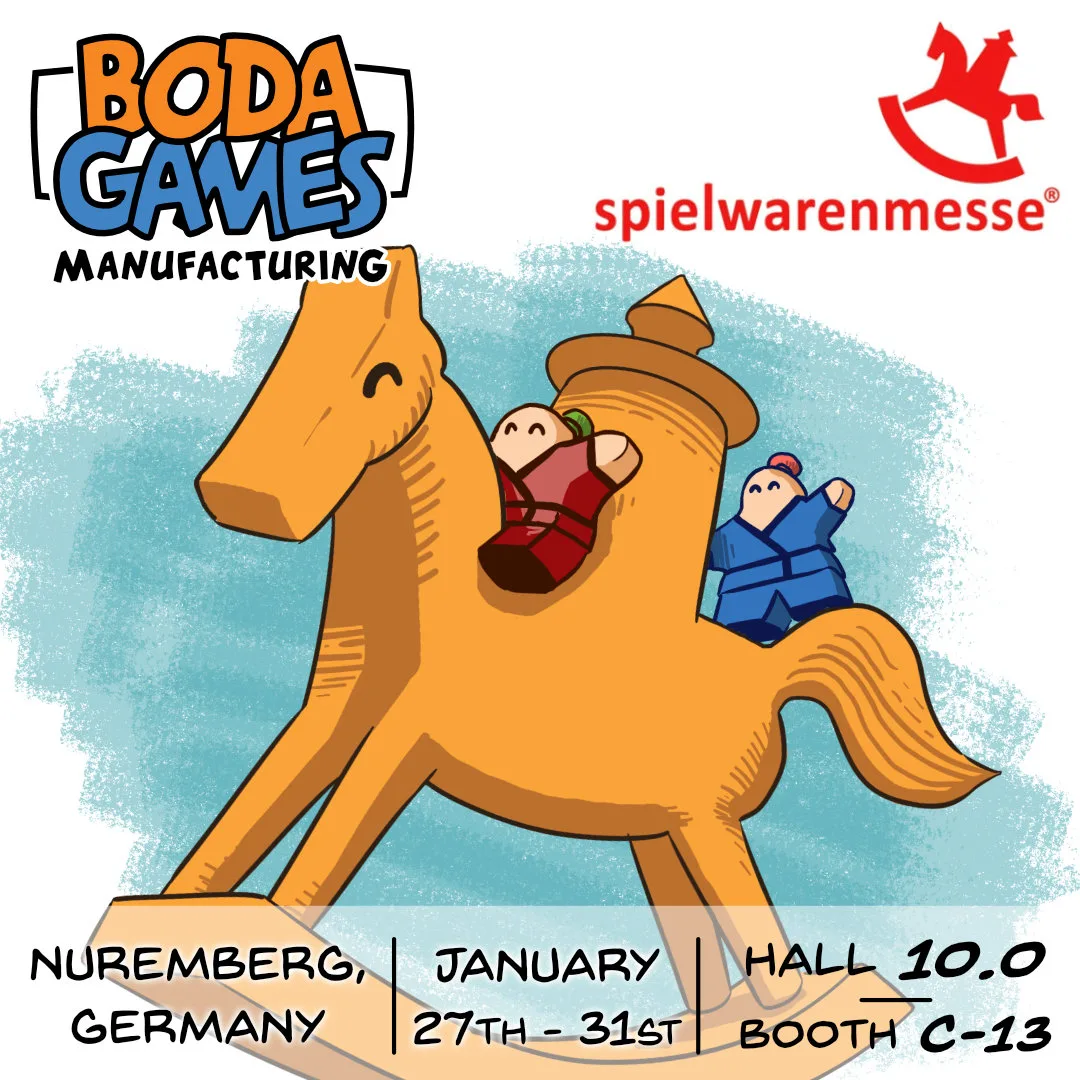
Spielwarenmesse 2023 is almost here! We are pleased to announce that Boda Games Manufacturing will be exhibiting at the Nuremberg [...]

December 16, 2025
Shipping times is an important thing to keep in mind when planning a new board game project. Many publishers aim [...]

December 10, 2025
This month Boda Games is proud to have launched our new website. With a completely new look to it, our [...]

October 15, 2025
This year, the European Union has introduced the General Safety and Performance Requirements (GSPR). The purpose of this is to [...]


 Request a quote