History of 3 Boda Games Meeples – Part I
Meeples: as part of our artwork guidelines, this time we will explain the process behind making wooden meeples. Without a doubt the most iconic piece for board games, meeples are a staple of the board game industry. So how to best explain making wooden meeples? This time we are changing it up a bit. Instead of just describing every step in a boring way, we will show it! For our latest version of the sample box, we also had a number of meeples made just for us. So we will take 3 of the meeples that we created for our sample box, and explain the entire process we went through when designing these meeples. The things to pay attention to design wise, the different ways we can produce meeples and how it changes the way they look when finished: we’ll tell you everything.
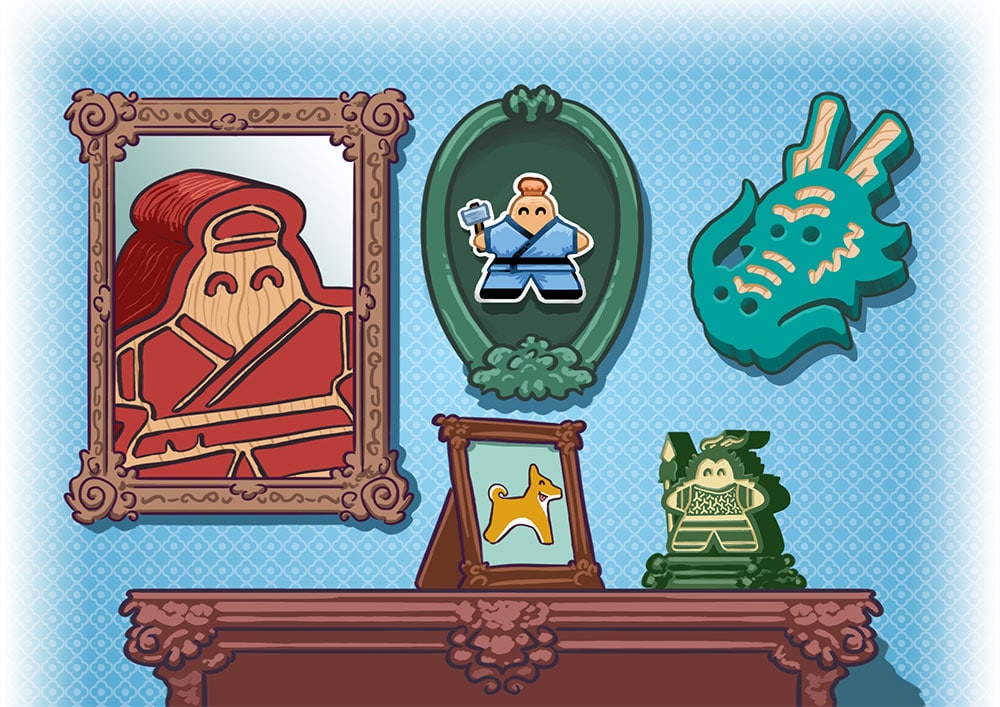
The Painter meeple – a laser engraved meeple.
 The first meeple we will introduce is our Painter meeple. Keeping with our ancient China theme, we planned for this meeple to look like a traditional Chinese Painter. We took the classic meeple shape that everyone knows and loves, and started to modify it to make it look more traditional Chinese as well as show the painter nature of the character. For the head, we modified the traditional soft pointed shape and instead created a small dome on top to create a hair bun. We then added a brush to the left hand of the meeple, to show his artistic craftsmanship.
Shape
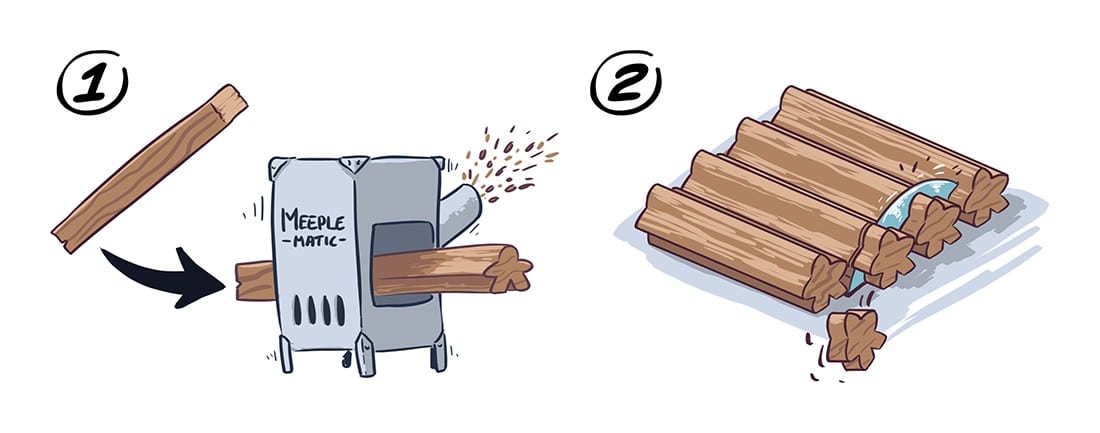
To understand the shapes you can give to meeple, you need to understand how the wood gets processed. For a machine cut meeple, first we begin with a long piece of wood that is larger than the meeple we are planning to make. This piece of wood goes through an extrusion machine that has a shaping tool inside it. You can see this in figure one. Once it passes through the machine, the outline of the meeple shape can be seen. After this, we take the long meeple stick and cut them to a desired thickness. It’s quite similar to cutting a loaf of bread! You can see this in figure 2. After all of that is said and done, the meeples have a shape according to your design. And cut individually to the thickness you specified.
Shape of the meeple
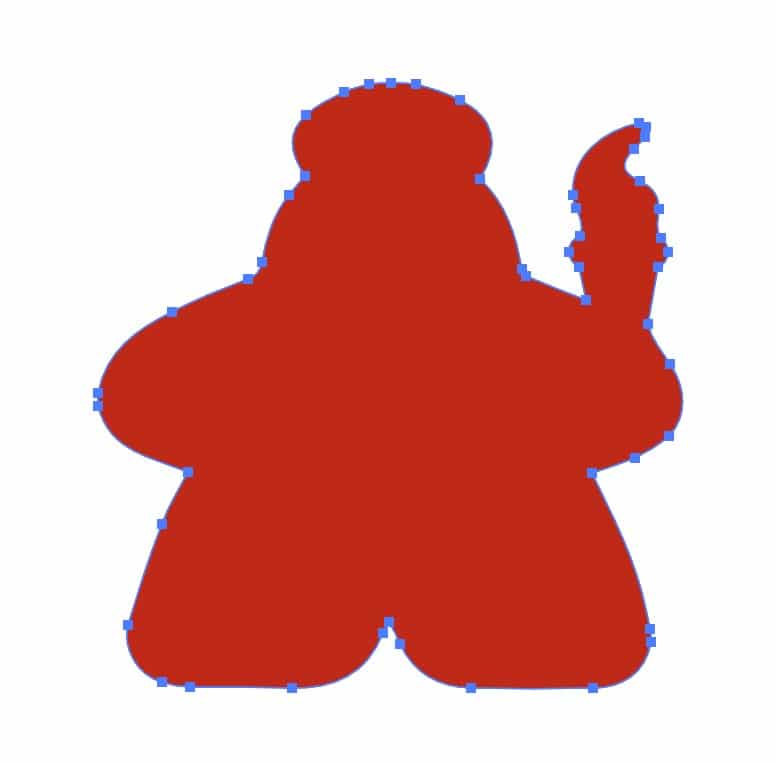 There are a few things to keep in mind when designing the overall shape of a meeple. The first one is that due to the cutting process, it’s better to avoid very thin elements. The force behind the cutting machine might not be able to cut super thin 1mm elements, especially if they stick out and are relatively far from the main body. This is also why you will normally see meeples with more rounded features than sharp, pointy ones. Although the Painter meeple we used in this example had a fairly basic shape, of course you can also design more complex shapes. But always try to balance it so that no parts of the meeple get too thin, with the risk of breaking off during the cutting process. As a rule of thumb, try to make sure that parts that stick out from the main body are at least 1.5mm-2mm thick, especially on the connecting part.
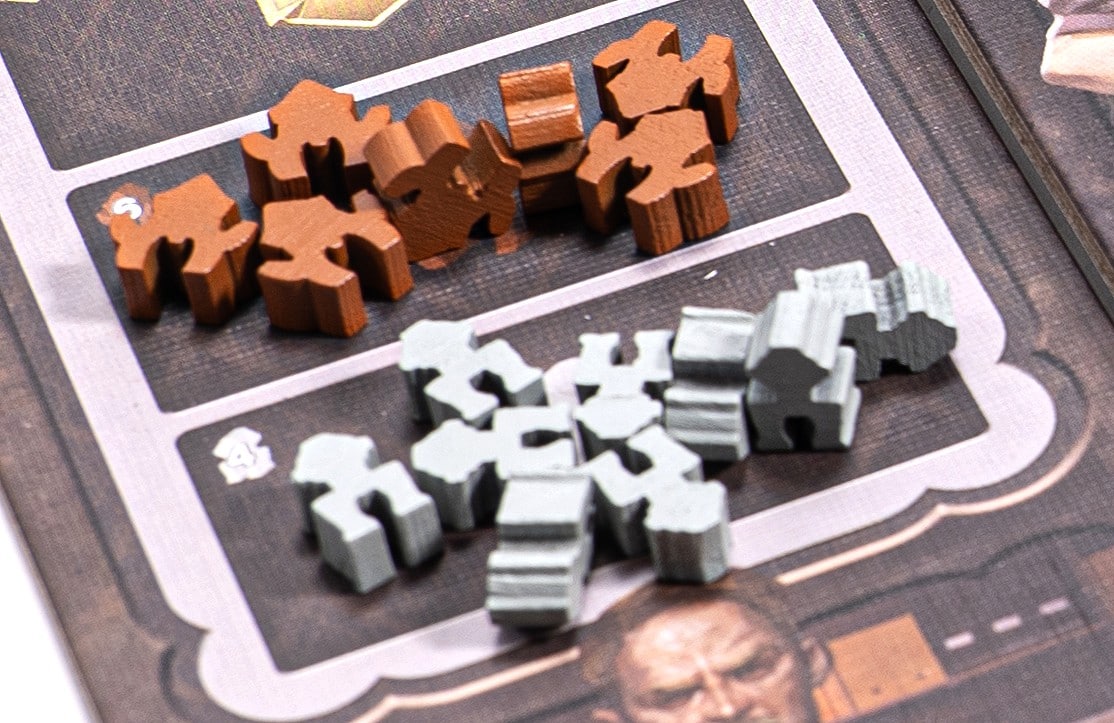
You can see another example here from Barrage on Boardgamegeek a game that we manufactured lately, that has a more complex shape with various parts sticking out.
Color
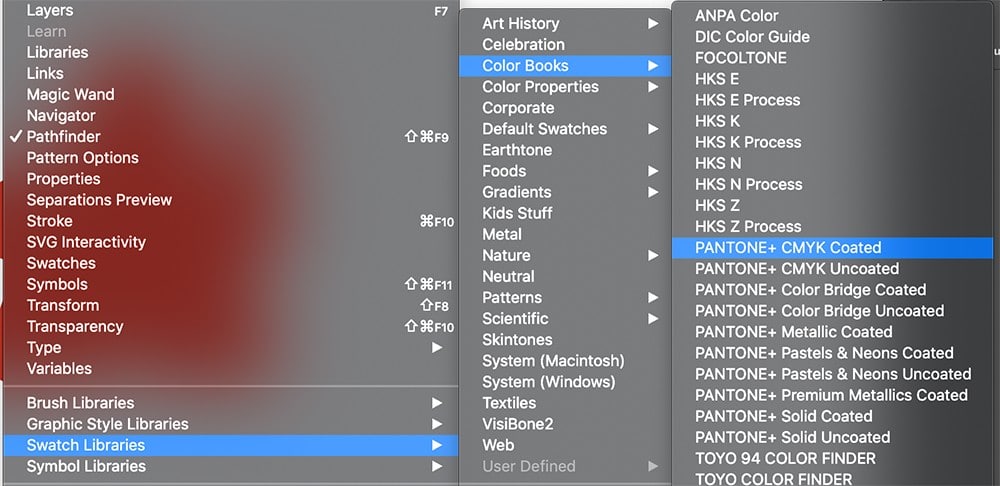
Next the meeple is normally painted in 1 base color that covers the entire body of the meeple. In our case we went with a deep red, a traditional color in China. The exact color we used was pantone P46-8 C. By using pantone colors, you can make sure that the color you have in mind and the color of the final product matches up exactly. If you’re unsure about how pantone colors work, your account manager can help you figure it out. So feel free to contact them if you need assistance with that.
Engraving
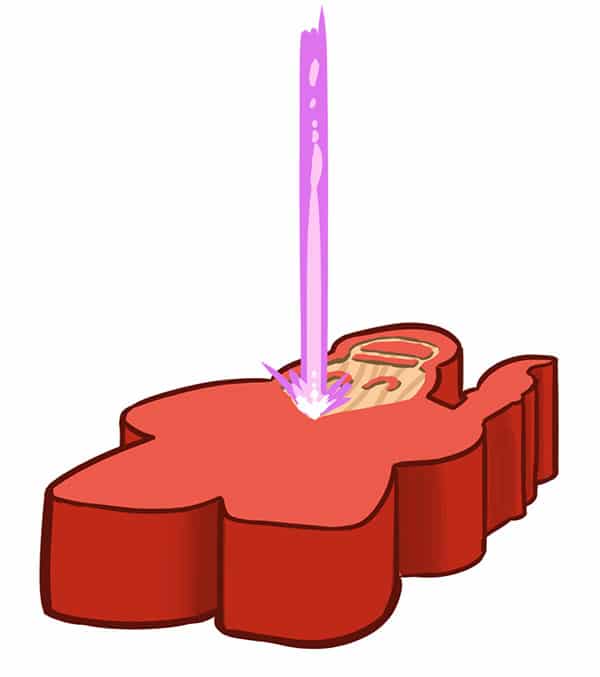
Another reason we went with red, which is a darker color, is because we wanted to do engraving on our Painter meeple. Previously we already explained the thought process behind the shape of our painter meeple. And for many meeples, the alone is enough to instantly understand what kind of meeple it is. But to really make sure our painter is instantly recognizable, we wanted to add more details to him. One option for adding these details is through laser engraving.
The way laser engraving works is by removing a thin layer of the by now painted wood from the meeple. By doing this, you expose the bare wood’s natural color that is hidden below the layer of paint. It also creates a difference on the surface of the meeple’s body, similar to the embossing effect often found on game boxes and game boards.
For the laser engraving on top of the meeple, you need to create a pattern. The laser will then cut out the parts according to that pattern. More importantly, it won’t cut the parts that should remain covered in paint.
Things to pay attention to
There are 2 things to pay attention to when creating this pattern:
- Similar to paper components, you need to maintain a “bleed” in the design. The meeples can move slightly when they are placed into the laser engraving machine. Thus, without a bleed the design can shift to the point that it extends beyond the body of the meeple. To make sure that the entire design gets lasered into the body of the meeple, make sure that the laser engraving pattern is 1-1.5mm smaller than the outline of the meeple itself. That way, even if the meeple is not 100% centered the entire design will still be lasered into the meeple correctly. This space should be kept on all sides of the meeple.
- Although laser engraving machines can create lines thinner than you can imagine, it is better for the details to not be too fine. When the lines of the design are too thin, they might be hard to see once the meeple is produced. This is also because the natural wood that you are exposing through the laser engraving has a patina with lines running through it. If a very thin line is cut out, but below it is a darker grain of the of the wood, you might find it is hard to see.
Design files
The preferred format to prepare the design files for a meeple is in vector form. Both .ai and .pdf format is good for this. If you’re unsure about the file format to use, please ask your account manager for advice and guidance. Two more tips to avoid any mistakes arising during the manufacturing process:
-
- Try to design your file using real measurements. This means that if your meeple is going to be 3 centimeters tall, the design file is also 3cm tall. That way, the size of the design equals the final size of the meeple. Also make sure to include clear instructions for the desired measurements, so that our time can double check the files.
- When making an engraved meeple like our Painter, make the file so that it has two layers in it. That way, one layer is for the shape of the meeple. The other layer for the engraving pattern of the front of the meeple.
And voila, now you know the process behind making engraved meeples. Of course, there are other manufacturing methods for creating meeples. In part 2 we will also explain how to produce silkscreened meeples. Stay tuned!
Sorry, the comment form is closed at this time.