Boda Games Temple – how to design a punchboard building

..When we started work on our previous sample box, we set a goal that the components would not only be indicative of the Boda Games quality, but also had to be great to look at and fun to put together. Thus when we were brainstorming what to do with the punchboard, we decided on a punchboard building. Our punchboard building is made to look like a traditional Chinese temple, including details such as circular windows, slanted roofs and paintings of Chinese door guards.
Prototyping
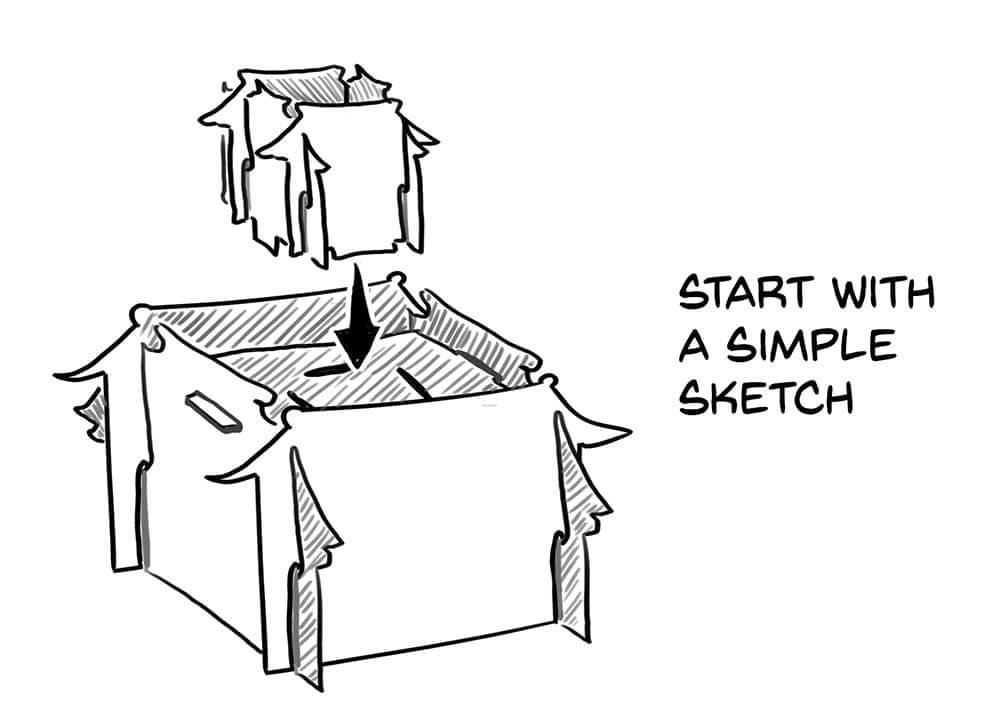
When you are creating a complex punchboard such as our temple, the first thing is to sketch the overall structure. From there on, you can start thinking how the different pieces can fit together to eventually form the shape you have in mind. If you are unsure how to start, have a look at some board games (or one of our sample boxes) that you have on hand and carefully study each individual piece and how it comes together to create an overall structure. We also highly recommend first working on the shape before you get started on the artwork. That way, you can print blank versions and check whether all the pieces fit together and adjust sizing accordingly where necessary.
Construction of the punchboard temple
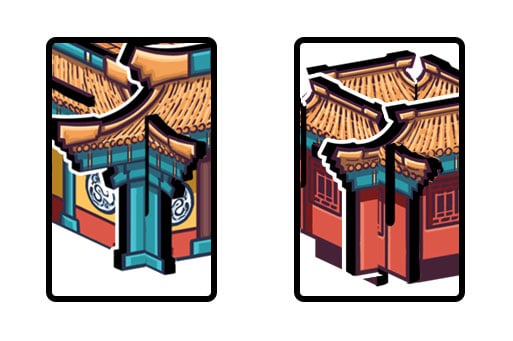
The construction for our punchboard temple is similar to two boxes that are placed on top of one another. To keep everything in place, we used cut out slits where one piece of cardboard slides into the other.
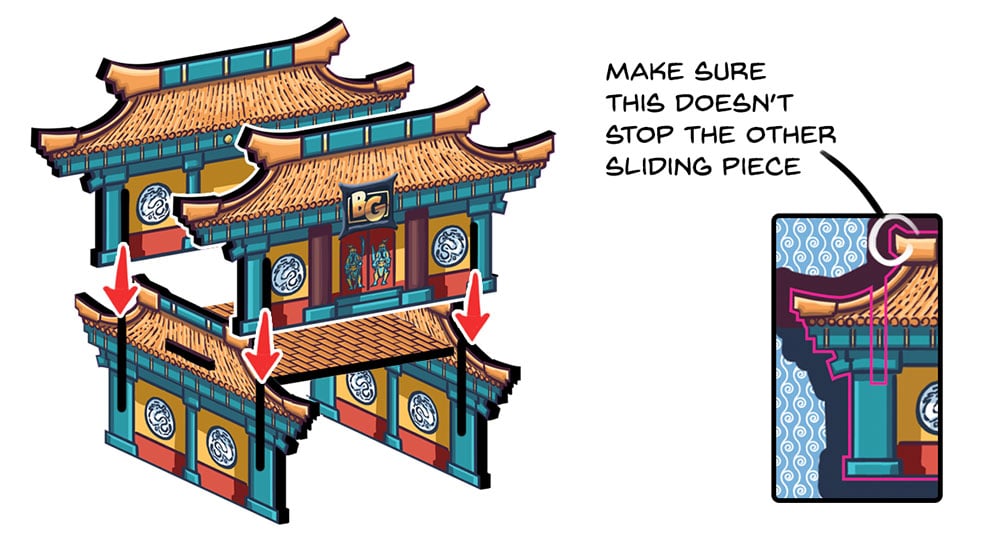
With this system, you match up the cuts on corresponding pieces so that they can fit together perfectly, firmly holding both parts in place. This is what keeps the four walls of the building firmly standing upright. Be careful not to have any protruding parts in the design that could block one piece from sliding into the other when assembling it.
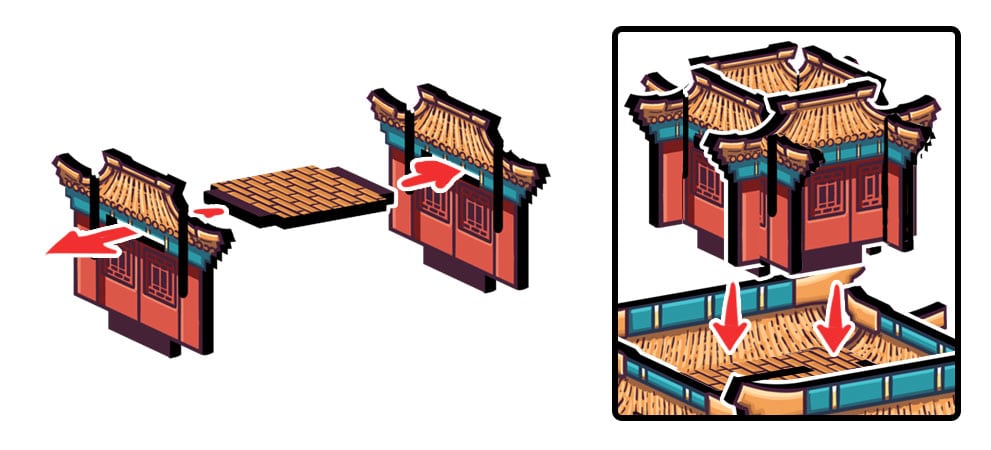
The second system we use for the temple punchboard has horizontal slots in the walls. One punchboard goes through the hole and protrudes from the other side. This is a good system when you need to connect one single piece with multiple other ones. In the case of our time, we use this system to insert the roof pieces into the wall and also to firmly connect the second floor of the temple to the bottom floor.
Creating the artwork
Once the shapes of the different punchboard pieces are decided, it is time to create the artwork for it. There are a few things to keep in mind when designing artwork for a multi-piece punchboard assembly component.
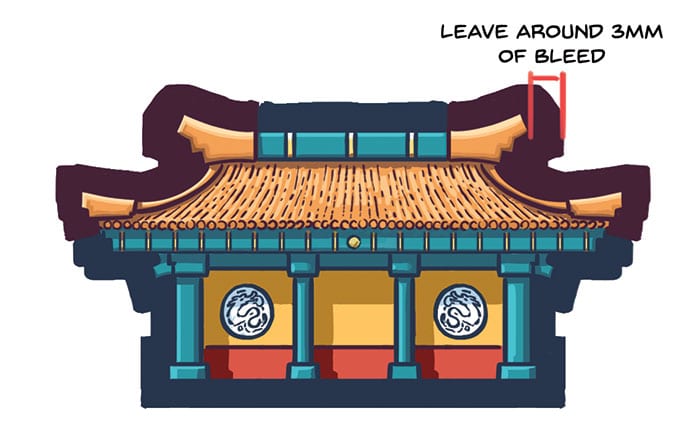
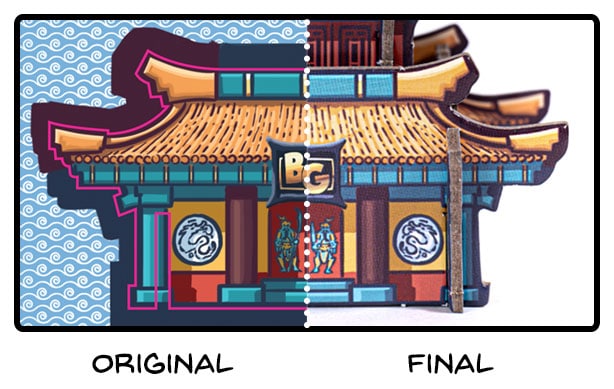
Due to the way the diecut machine is set up that is used to cut a punchboard, there is a very small misplacement margin. So there can be slight variations in the cuts throughout the manufacturing process. Because of this, the artwork needs to be created in such a way, there is some bleed left around the areas that will get cut. For our temple we kept with the cartoony style. We used same color thick lines at the edges of the artwork to define the shape of the artwork.
Another thing to pay extra attention to are the points where two connecting pieces meet. Try to do the artwork in such a way that when they are assembled, the design makes sense. In our case, we made sure that the colors on both sides matched up. That way, it creates more of a three dimensional effect and does not draw attention to the connection point.
Creating the layout and printable files
Now you have decided the shape of the pieces, the fit has been checked to work and the artwork is done. It is time to get everything ready for printing. Then you put everything together in a file that the manufacturer can then help turn into an actual punchboard.
Keep in mind the following things when arranging the pieces and the artwork. First of all, the file needs 3 mm of bleed all around the outer borders. Pieces placed near the outer borders should have at least 6mm of bleed away from the edges. And there should be a minimum of 3-4mm space at every point between the individual pieces.
Creating the cut lines
When you are creating the cut lines, remember that there are limitations to how far you can cut it. As well as how complex the shapes can be. On the image above you can see what we initially had in mind, but after a technical discussion with the Boda Games’ production staff we were reminded that these types of complex cuts are not possible with this method. It is better to stick to more simple, rounded shapes to create optimal files that will give great looking punchboards. In our case, we simplified the shapes slightly. If you are unsure whether a certain cut line can be produced or if it is too complex, please reach out to your account manager and they can discuss it with the production team.
Another thing to keep in mind when you create the cut lines for the parts. Is where the different pieces connect is the thickness of the punchboards themselves. If your punchboard is 2.5mm thick, make sure to make the cut lines slightly bigger on the intersecting parts. Slight variations in the thickness of the punchboard can occur, and on top of that this will let pieces slide in smoothly when assembling the structure.
Delivering the file
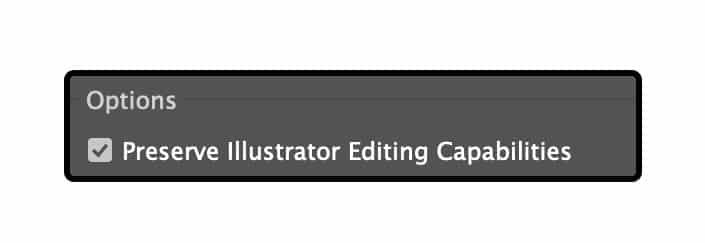
Now you finish everything and are ready to send the files over to your Boda Games account manager. The preferred file formats are .ai or .pdf. When using the .pdf format, make sure that you check the “Preserve Illustrator Editing Capabilities” box before you save the file. This will make sure that we are able to open the file. And have it look the same way you saved it.
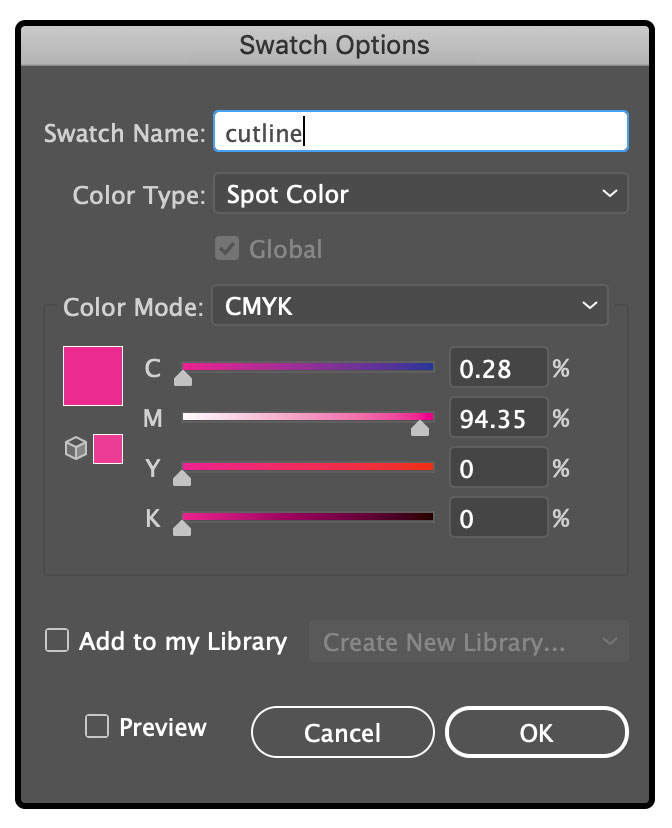
Finally, all the different cut lines should go in their own, unique layer. Use a spot color to highlight them to make sure there are no misunderstandings.
And that’s how you create multi-piece punchboard components! We hope this guide was helpful, but if you still have any questions about punchboards after reading it, please feel free to contact us with any and all questions you may have and we will be happy to walk you through the process and explain anything not covered in this guide. Happy designing!
Latest posts

July 21, 2026
Soon it will be time for the biggest board game convention in the United States, Gencon! If you’re attending [...]
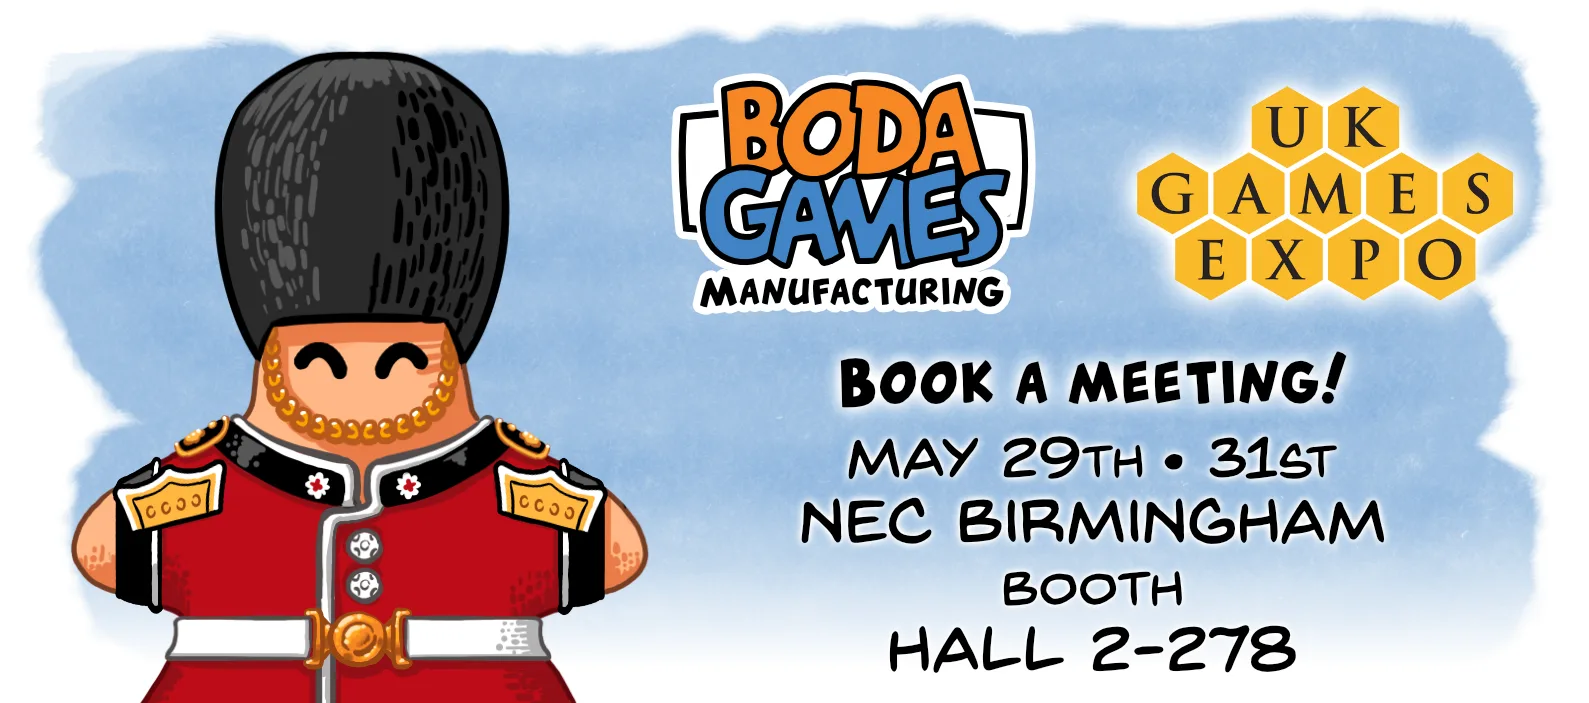
May 13, 2026
UK Games Expo is almost here again! From May 29-31, Boda Games will be exhibiting at the UK Games Expo [...]
May 13, 2026
Acrylic components are a popular upgrade from cardboard. They offer a clean, modern look, strong durability, and consistent print quality. [...]

January 23, 2026
Spielwarenmesse 2023 is almost here! We are pleased to announce that Boda Games Manufacturing will be exhibiting at the Nuremberg [...]


 Request a quote