Design

Printing on wooden components

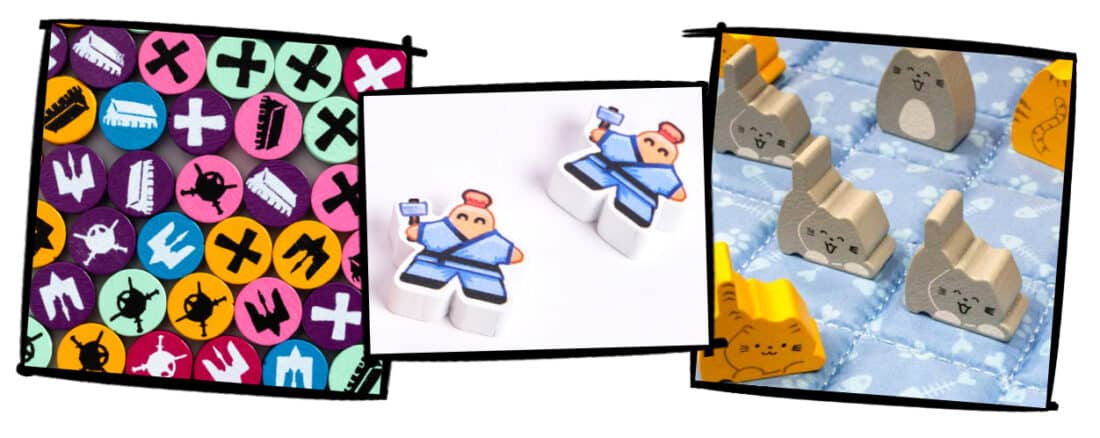
Wooden components are a staple of board games for as long as they have been around. They fit together perfectly with paper cards and punchboard game boards to create the classic board game experience. Everyone knows the piles of wooden cubes, discs and rectangles that are so common euro style games. However, you can do a lot of things with wooden components, both in terms of size and shape as well as printing. The three most commonly used methods for printing artwork, numbers and symbols on wooden components are silk screen printing, heat transfer printing and UV printing. Even though they overlap in certain areas, each of these printing methods has their own advantages. Picking the right one for the components in your board game will elevate the experience. We will explain the process, the advantages and the limitations for each of them.

Silk Screen Printing
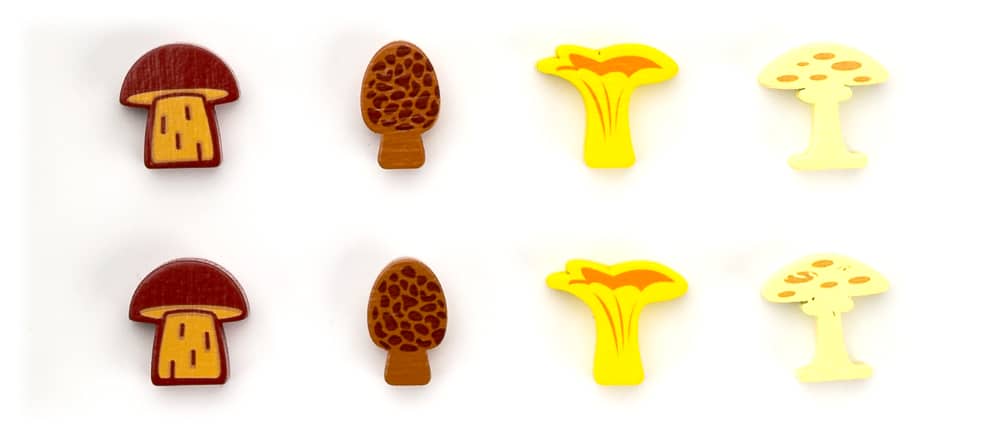
Silk screen printing is done by pushing the ink through a stencil or screen. The screen is made of a fine mesh material that is stretched across a frame. In the screen, the areas where the ink should flow through are left open, and the other areas are blocked. Then, ink will be applied to the screen on one side, and the other side of the screen will be placed against the wooden component. A squeegee is used to push the ink across the screen, letting it flow through the areas that are open. That ink adheres to the wood and forms the design. Then, the parts will be laid out to let the ink dry, so it sets and adheres to the wood.

Benefits:

Silk screen printing produces a very durable print. The mesh screens allow for highly detailed, intricate design. The colours are vibrant and mask the underlying color well.

Downsides:

For each color a separate screen is necessary. For small print runs, it requires an investment in the screens. The set up and production process can be time-consuming. Gradient colours and photographic graphics cannot be done by silk screen.

UV printing

UV printing is done with a large UV printing machine that prints the UV ink onto the wooden component. In the UV ink there are special compounds that harden when exposed to UV light. Much like your printer at home, this is done line by line as it builds up the graphic from top to bottom. After printing, it immediately cures  it with UV light. This rapidly solidifies the ink on the surface of the wood. This process makes the ink resistant to smudging and more durable.

Benefits:

UV printing allows for high resolution, full colour printing with a fine level of detail. The colours are vibrant and opaque. UV printing can easily accommodate variable data, such as numbers or unique designs on each component.

Downsides:

UV printing prints on the surface, so it has a higher potential for rubbing off due to abrasion. It does not mask the underlying paint color as well as silk screen printing.

Heat Transfer Printing
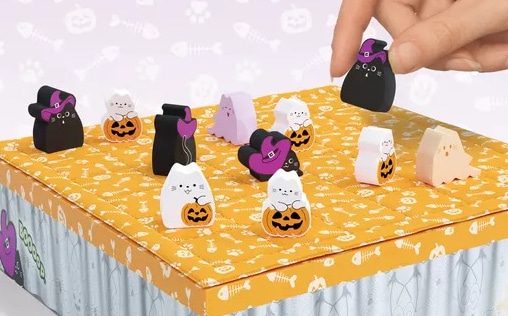
Heat transfer printing is done by first printing the design on a special carrier paper with special heat transfer inks. The paper is placed over the wooden component(s) and aligned. Then, the heat press machine simultaneously heats the paper and applies pressure to it. The heat activates the ink and causes it to subliminate from the carrier paper and adhere onto the wood. Finally, the carrier paper is removed. The wooden components then cool down to allow the ink to set.

Benefits:

Heat transfer printing allows for full colour printing with high detail and resolution. The process is suitable for small and large production volumes. Heat transfer can be applied to a variety of surfaces, including textures ones. Setup time and cost is low.

Downsides:

It is less durable when regularly exposed to moisture or abrasion. The texture of the wood affects the print quality. It is less suitable for dark surfaces, as the heat transfer print does not cover the underlying color as well as silk screen printing.

Want to see more examples of wooden components Boda Games Manufacturing has produced? Have a look at the wooden components section on our website, as well as our brochure. Have an idea for printing wooden components for your next board game? Get in touch with us!
Read more...

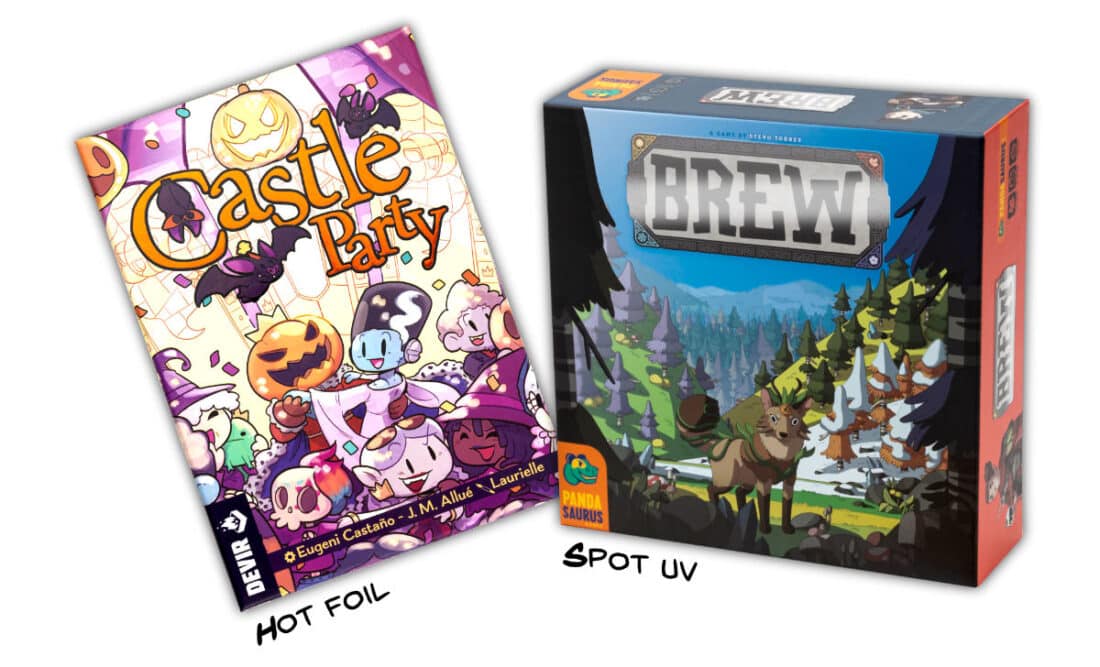
Adding a Finish part 1: Spot UV & Hot Foil Stamping

In this series we will take a closer look at the types of finish you can add to board game components. They are commonly used on the game boxes in order to help the artwork stand out. But can also be applied to other paper components such as punchboards, game boards, cards and more. The first two that we will discuss are the ones most commonly found when you look around at a board game store. These are spot UV and hot foil stamping. What do these terms mean exactly? And what kind of effect do they add to your components. And more importantly: how does the manufacturing process work? One of the nice things about being a board game manufacturer is that we apply a lot of different techniques that are normally only used in specific parts of the printing industry. As board game publishers and designers continue to seek out new ways to make their game. We keep on expanding our portfolio of technologies. As a result, our board game manufacturing capabilities include a lot of specialized printing techniques. The two that we will discuss today are printing techniques that aim to enhance the visual appeal of printed materials....

Read more...

Inside of the game box

What's in the box?! While this reference to a movie from the '90s might not ring a bell with everyone. The inside of a board game box should be very familiar for all of us! In this article, we want to take a closer look at an aspect of board games. That can sometimes be overlooked in the grand scheme of things. Until the very end when everything needs to be finalised and submitted. We are talking about the inside of the game box. First, let's start at the beginning. It is safe to say that the vast majority of game boxes for board game are made from grey board carton. This sturdy material, as you may expect from the name, has a grey color / look to it. That's no problem, because we will wrap the outside of the box with printed paper. That has beautiful and colourful illustrations on it. However, the wrapping around the game box only extends several centimeters over the edge and into the inside of the box. Thus, this means that the inside of the box will still show the bare grey board material. After this, it becomes a matter of personal preference. Some people don't...

Read more...

How to curve text – Boda Games Tutorials

Curve text: what does it mean and why is it important? One of the great things about a board game, is that it is literally a blank slate. Game designers and artists take this blank slate and fill it with artwork, bringing the paper components to life. When you have a great theme and beautiful artwork, the next step is to use a font for all the text that matches with it perfectly. A lot of game designers and artists look beyond the standard font types available in programs like Adobe Illustrator to find the perfect fit for their game. Custom fonts Custom fonts can be found and purchased online, or even created by the artist himself. Using custom fonts can, however, lead to complications when preparing the files for printing. Boda Games has prepared a video tutorial showing the problem that can occur when using custom fonts. After that, we show you the solution to this problem. By curving the text before exporting the file as a .PDF file, you can avoid this problem. And ensure that your files appear the same way at our graphics department as you originally made them. Problem: font not available A common problem with preparing artwork files....

Read more...

Color mode: CMYK or Pantone?

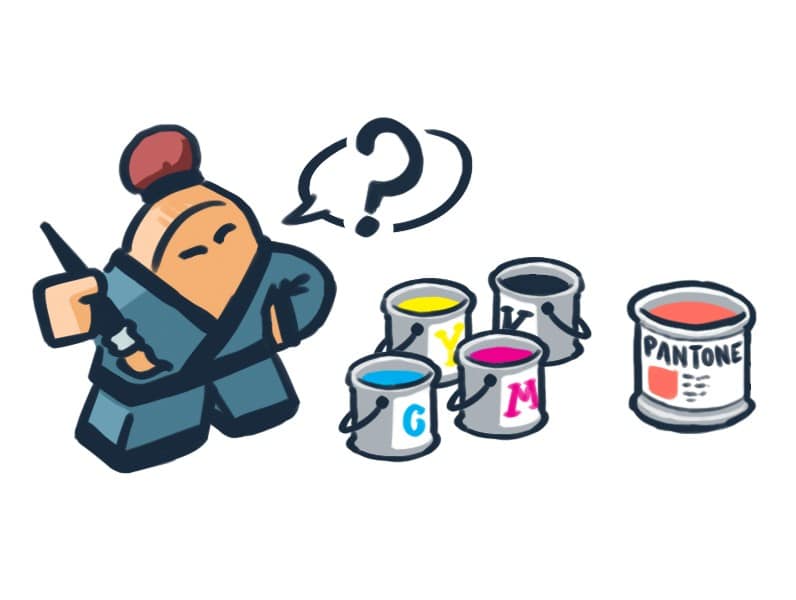
If you’re a board game designer or publisher, you will definitely have heard one or more of these terms thrown around as you prepare all your artwork files for printing. You might even have a vague idea of what the terms stand for. But what is a color mode exactly? What is the difference between CMYK and Pantone? And when should you use which one. These are all questions we commonly get from customers. In this article, we will explain what the differences are between these color modes. When you should use which one. And what to watch out for when working with a specific color. Different board game components have different requirements for the color mode, so make sure you always check before you get started. We specify the color mode for each component in our Artwork Guidelines. So we always recommend starting from there when you start working on your files. CMYK (4C): The term CMYK is an abbreviation of the words Cyan, Magenta, Yellow and Key. In case these colors don’t ring a bell, you can think of them as blue, red, yellow and black respectively. CMYK is also referred to as four color printing (4C) sometimes. With CMYK...

Read more...

Boda Games Temple – how to design a punchboard building

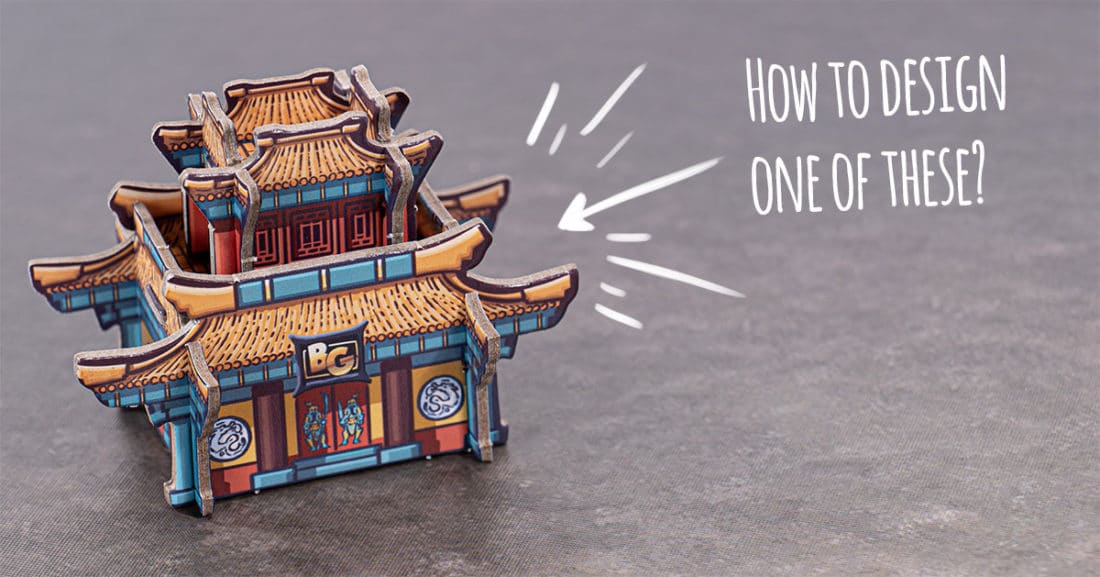
..When we started work on our previous sample box, we set a goal that the components would not only be indicative of the Boda Games quality, but also had to be great to look at and fun to put together. Thus when we were brainstorming what to do with the punchboard, we decided on a punchboard building. Our punchboard building is made to look like a traditional Chinese temple, including details such as circular windows, slanted roofs and paintings of Chinese door guards.  Prototyping When you are creating a complex punchboard such as our temple, the first thing is to sketch the overall structure. From there on, you can start thinking how the different pieces can fit together to eventually form the shape you have in mind. If you are unsure how to start, have a look at some board games (or one of our sample boxes) that you have on hand and carefully study each individual piece and how it comes together to create an overall structure. We also highly recommend first working on the shape before you get started on the artwork. That way, you can print blank versions and check whether all the pieces fit together and adjust sizing...

Read more...

History of 3 Boda Games Meeples – Part III

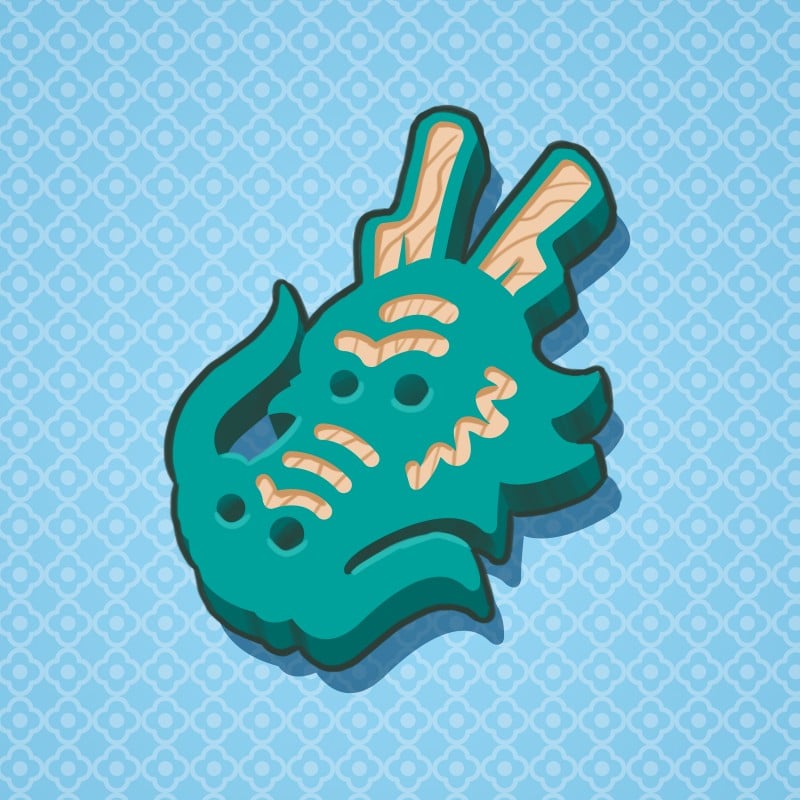
The final member to be introduced in our history of the 3 Boda Games meeples is Shenlong the dragon meeple. Unlike the other 2 meeples we’ve discussed, Shenlong is not in our newest version of the sample box. But he was in the previous one, so a lot of you have already seen him! Shenlong was a favorite around the office when we first made him, and has some really cool details. The inspiration came from traditional Chinese paintings, where dragons are often depicted. Then we started brainstorming, how can we do something cool and different with the design of this meeple? In the first part of the history of the 3 Boda Games meeples, we introduced you to our artist meeple. There, we also explained the wood cutting process of meeples. A long piece of wood is cut into a shape, and then the meeples are “sliced” off from the wooden stick. This is a common method for manufacturing wooden meeples and it gives great results, particularly for smaller and more traditional shaped meeples. But, actually there is another way to make wooden meeples. This time, each individual piece of wood is cut out from a flat plank of wood, one at...

Read more...

History of 3 Boda Games Meeples – Part II

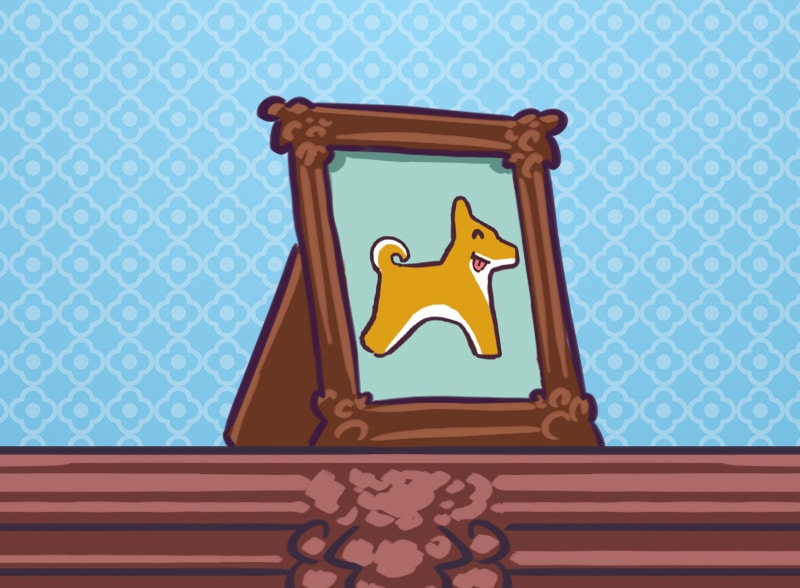
We started our ancient China illustration themes with the large walled city illustration that you have seen at a convention, on our website on the home page or on Instagram. One of the many things that made it so much fun to work on was that we did our very best to hide small details and easter eggs in there wherever possible. We particularly liked the small yet cute meeple dog we hid in there, that we have since named Xiaogou. After getting great feedback from our own staff as well as our customers, we decided to turn Xiaogou into one of the meeples for our latest sample box. A silk screen meeple to be precise.    For this meeple, we decided to make it using a silk-screening process. With silk-screening, you can print multiple colors and shapes on top of the meeple, allowing for a very detailed design. In the case of Xiaogou, we wanted to capture the playful nature of the dog with the tongue hanging out and the happy eyes as well as show off the different colors of fur he has. The first thing you need to do is create the overall shape of the wooden piece that will...

Read more...