Tutorial

Spot UV file preparation

This time we will discuss the preparation required to elevate your print materials using techniques such as spot UV and hot foil stamping. Spot UV and hot foil stamping are great ways to make a board game box look nice and appealing and many of our customers are interested in that. But when they prepare the files for us to print their board game, some of them are not quite sure how to prepare for these techniques. Here’s a comprehensive guide to help prepare your artwork files for printing. The below guide is written with Spot UV as an example, but the file preparation for hot foil stamping follows the exact same format.

For our small card sample box, we wanted to highlight our logos with Spot UV

Spot UV printing

First you’re going to prepare the artwork, for which you can use our handy template generator.The first step is to create a new layer in your file and name it “Spot UV.” This layer should only contain the elements you want to highlight with the UV coating.

Use a distinctive color to mark the areas.

The easiest way to show us the areas you want to use for spot UV coating is to mark them with a distinctive color, for example by marking them with 100% magenta (M) or another color. Avoid any shades, gradients, or tints. This ensures the UV areas are clearly defined and will print correctly.

Vector-Based Elements

Ensure all elements designated for spot UV are vector-based. This guarantees crisp, sharp edges and the highest quality finish. Avoid using raster images or bitmap graphics for these areas.

Exporting the files

Our pdf file for the Spot UV only includes the four vector shapes

We recommend exporting the “Spot UV” layer as a PDF file on its own that can be named accordingly. Save your final design file as a PDF/X-1a. This is a print industry standard that ensures your file is properly formatted for high-quality printing.
This way, the printing files and the spot UV files are 2 separate files that are easy to keep apart. Alternatively, they can be sent together in 1 file if the layers are clearly named and defined.

Final checks

Double-check that all elements align perfectly with your main design. Misalignment can lead to printing issues and degrade the overall quality. Pay special attention to the registration of spot UV and foil layers with the underlying artwork.
Read more...

Packaging board games

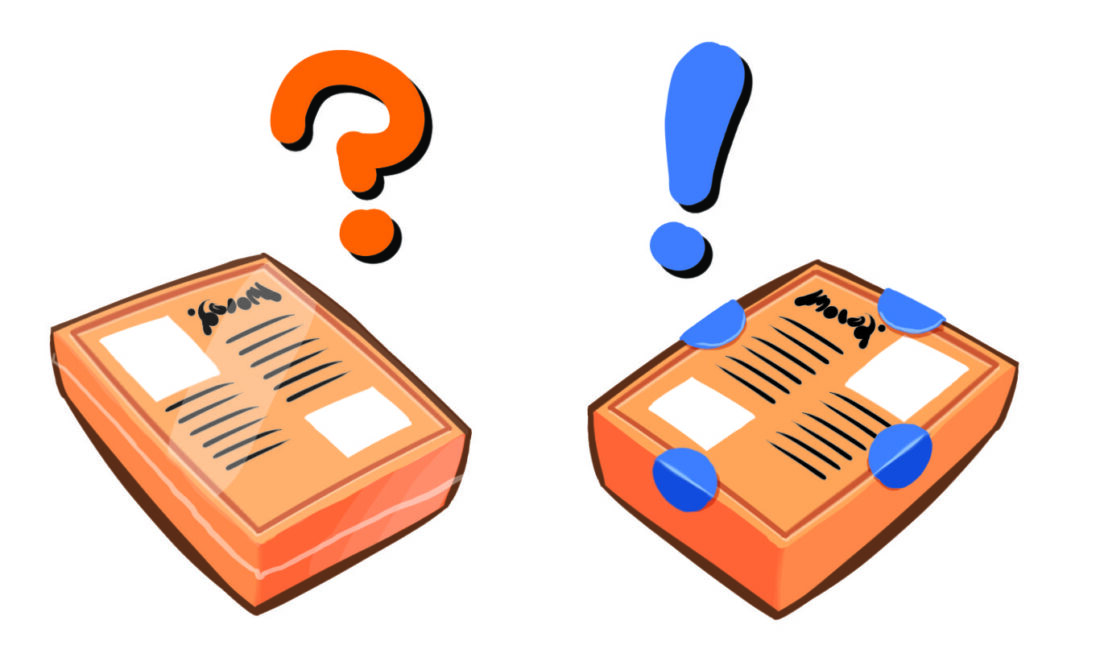
When it comes to packaging board games, there are two common methods: shrink-wrapping and using stickers to close the box. While both methods achieve the same goal of securing the contents inside the box, they differ in several ways, and each method has its own unique benefits. Shrink-wrap packaging   Shrink-wrapping involves using a plastic film that is wrapped tightly around the entire box and then heated to create a seal. The primary advantage of shrink-wrapping is that it creates a tamper-proof seal that cannot be easily removed or resealed without leaving obvious signs of tampering. This makes it an excellent option for games that are being sold in retail stores or shipped long distances, as it provides an extra layer of protection against damage and theft. Sealing stickers packaging   In contrast, using stickers to close the box is a method using less plastic. This involves placing a strip of adhesive tape or a sticker over the opening of the box. Between the top and bottom part, to keep it closed. Normally, we place 2 stickers on each side of the box to make sure it is sealed well, but for bigger games this can even be increased to 4 stickers. With one on each...

Read more...

Boda Games Tutorials: Player Mats

Player mats: how to prepare the artwork for them? A player mat is a great component for a medium to heavy board game. Normally, each player gets their own player mat, which can be used for a number of different things. Some board games use them to keep track of player statistics or their resources. Then, other board games use them as a reference sheet for the players, showing them different moves and options they have. And other board games have a different function for it altogether. Thus, it is safe to say it is a very versatile component. That can add a lot of depth to any game. They can be made from either cardboard or from punchboard, depending on what you plan to use them for. Sounds great! But how do I make them? No worries! We've gotten plenty of questions from our customers on how to best prepare the artwork. So we have prepare this guide to explain it. This tutorial shows you how to prepare the artwork for your player mats. We will use the Boda Games Template Generator to generate a custom sized player mat template and then paste your artwork into the file to get a...

Read more...

Create cut lines – Boda Games Tutorials

Cut lines: what do they do and how do you create them? Cut lines are one of these things that seem very simple at first, but they can cause a lot of delay when not done right. In order to make sure you don't lose a lot of time. Emailing back and forth with the graphics department, trying to understand what is wrong. This tutorial will explain to you how to prepare your cut lines the right way.     First of all, what are cut lines? When a cardboard component of a board game gets made. It will need to be cut to size. This applies to both complete game board, as well as tokens. Whether they are already punched out or not. In order for us, the manufacturer, to know what part is the artwork. And what part is where it needs to be cut. For that, we need the cutting lines. These cutting lines should adhere to the minimum distances required for bleed and margin. Also check our Punchboards article for more information on bleed and margin. Common problems A problem that the Boda Games graphics & artwork department encounters a lot. Is that we will be sent a .PDF that includes...

Read more...

How to curve text – Boda Games Tutorials

Curve text: what does it mean and why is it important? One of the great things about a board game, is that it is literally a blank slate. Game designers and artists take this blank slate and fill it with artwork, bringing the paper components to life. When you have a great theme and beautiful artwork, the next step is to use a font for all the text that matches with it perfectly. A lot of game designers and artists look beyond the standard font types available in programs like Adobe Illustrator to find the perfect fit for their game. Custom fonts Custom fonts can be found and purchased online, or even created by the artist himself. Using custom fonts can, however, lead to complications when preparing the files for printing. Boda Games has prepared a video tutorial showing the problem that can occur when using custom fonts. After that, we show you the solution to this problem. By curving the text before exporting the file as a .PDF file, you can avoid this problem. And ensure that your files appear the same way at our graphics department as you originally made them. Problem: font not available A common problem with preparing artwork files....

Read more...